Virtual Hosts are used to run more than one site using a single IP address. In other words, you can have multiple websites on a single server
You need to follow several steps to add an Apache Virtual Host.
All virtual host domain names will be linked to localhost (127.0.0.1) and match the primary website domain name but with .local (e.g., wpbp.cc -> wpbp.local, domain.com -> domain.local)
Note: All configuration files provided within the blueprint use wpbp.local placeholder; all you need to do is replace them wpbp with your domain name. All screenshots attached were used wpbp.local since this was a temporary domain we used to develop the blueprint guide.
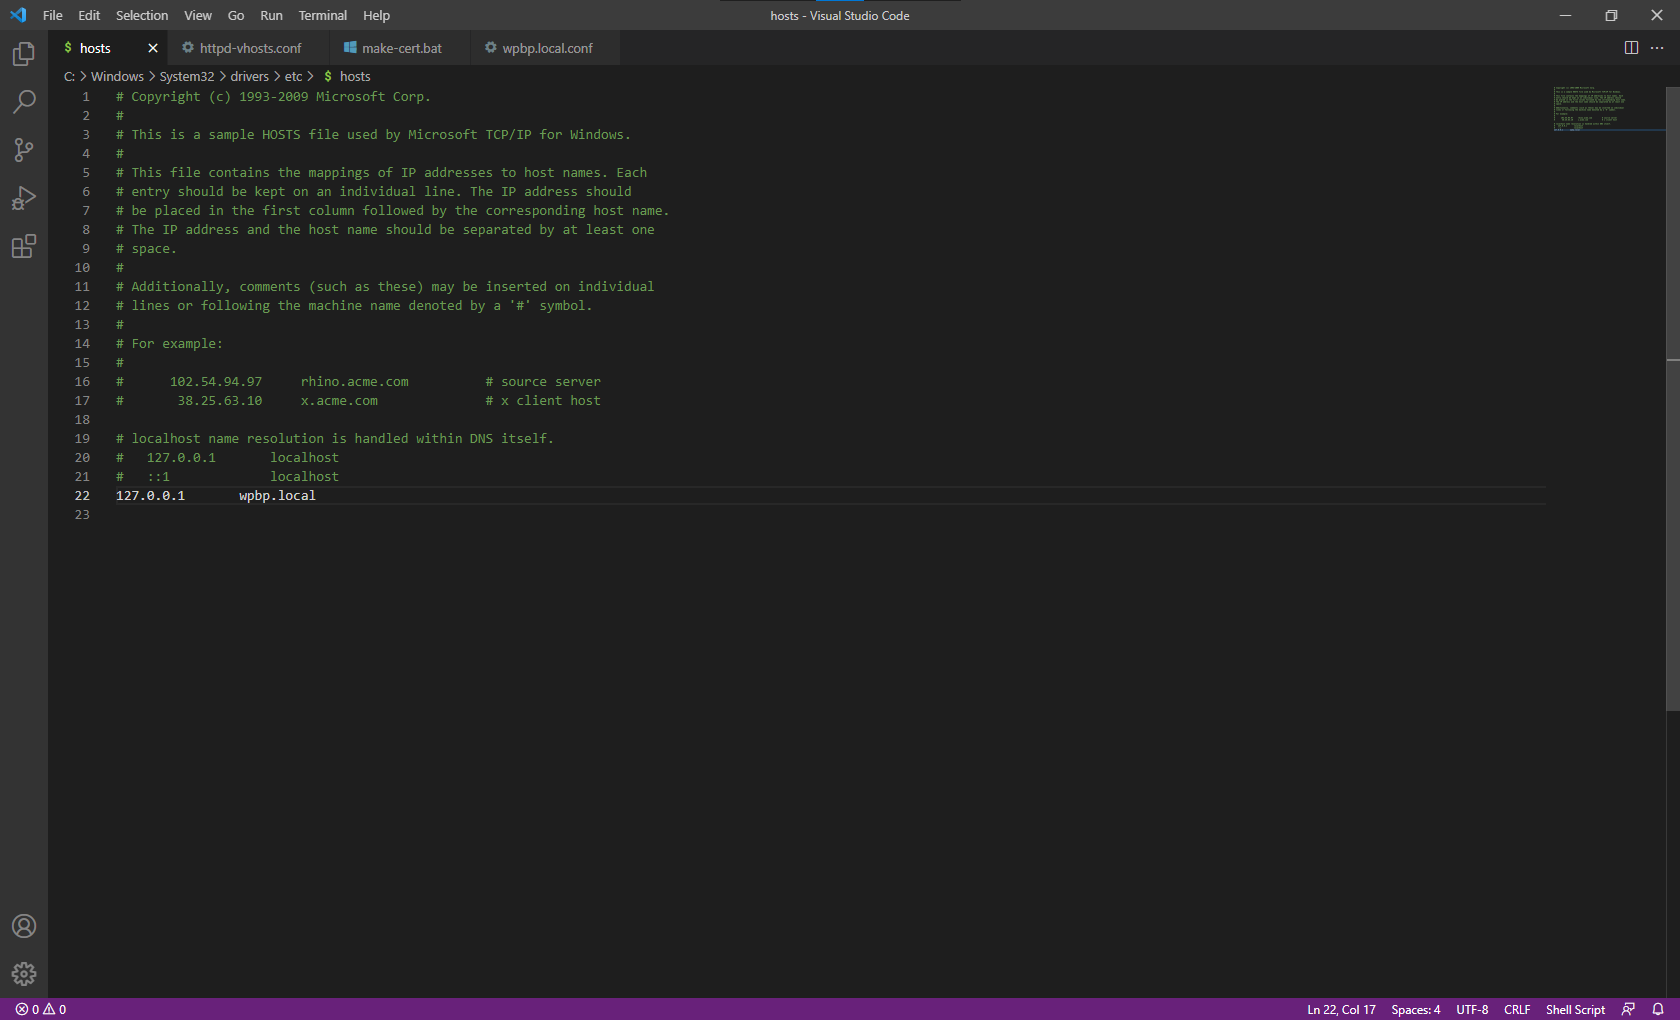
1. Open and update C:\Windows\System32\drivers\etc\hosts (as Administrator)
wpbp.local 127.0.0.1
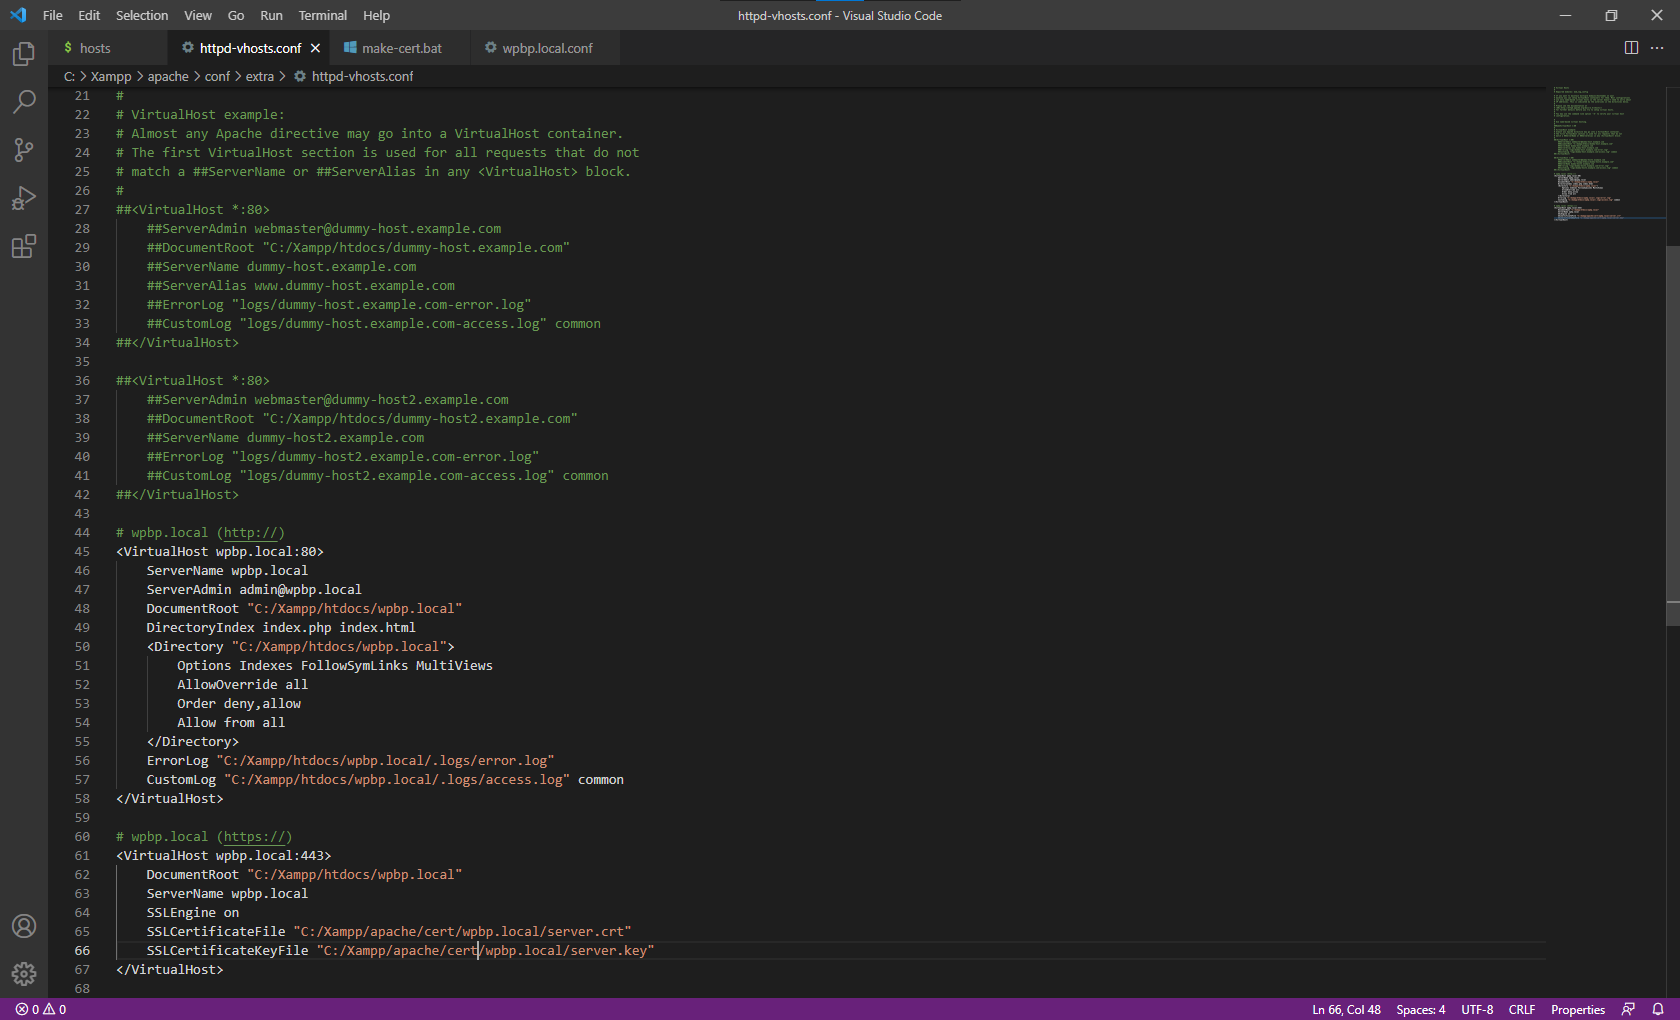
2. Open and update C:\Xampp\apache\conf\extra\htppd-vhosts.conf
Note: The following configuration file also has all the lines for our next step, adding SSL Support.
# wpbp.local (http://)
<VirtualHost wpbp.local:80>
    ServerName wpbp.local
    ServerAdmin admin@wpbp.local
    DocumentRoot "C:/Xampp/htdocs/wpbp.local"
    DirectoryIndex index.php index.html
    <Directory "C:/Xampp/htdocs/wpbp.local">
        Options Indexes FollowSymLinks MultiViews
        AllowOverride all
        Order deny,allow
        Allow from all
    </Directory>
    ErrorLog "C:/Xampp/htdocs/wpbp.local/.logs/error.log"
    CustomLog "C:/Xampp/htdocs/wpbp.local/.logs/access.log" common
</VirtualHost>

# wpbp.local (https://)
<VirtualHost wpbp.local:443>
    DocumentRoot "C:/Xampp/htdocs/wpbp.local"
    ServerName wpbp.local
    SSLEngine on
    SSLCertificateFile "C:/Xampp/apache/cert/wpbp.local/server.crt"
    SSLCertificateKeyFile "C:/Xampp/apache/cert/wpbp.local/server.key"
</VirtualHost>